In today’s fast-paced digital world, spending time offline doing something creative can be incredibly refreshing. One of the best ways to unwind, express yourself, and even bond with your family is by starting a DIY arts and crafts project at home.
Whether you’re a complete beginner or someone who used to enjoy crafting and wants to get back into it, this guide will walk you through the basics of starting your own arts and crafts adventure—without feeling overwhelmed or spending too much money.
Why DIY Arts and Crafts Are Worth Trying
Before we dive into the “how-to,” let’s quickly talk about why starting a DIY arts and crafts project is a great idea:
- Stress relief: Crafting helps reduce anxiety and improve mental health.
- Boost creativity: It activates your imagination and creative thinking.
- Fun for all ages: Kids, teens, adults, and seniors can all participate.
- Personalized gifts and décor: You can make handmade cards, home décor, or gifts.
- Budget-friendly hobby: You don’t need to spend a lot to get started.
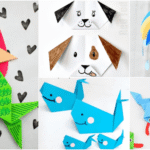
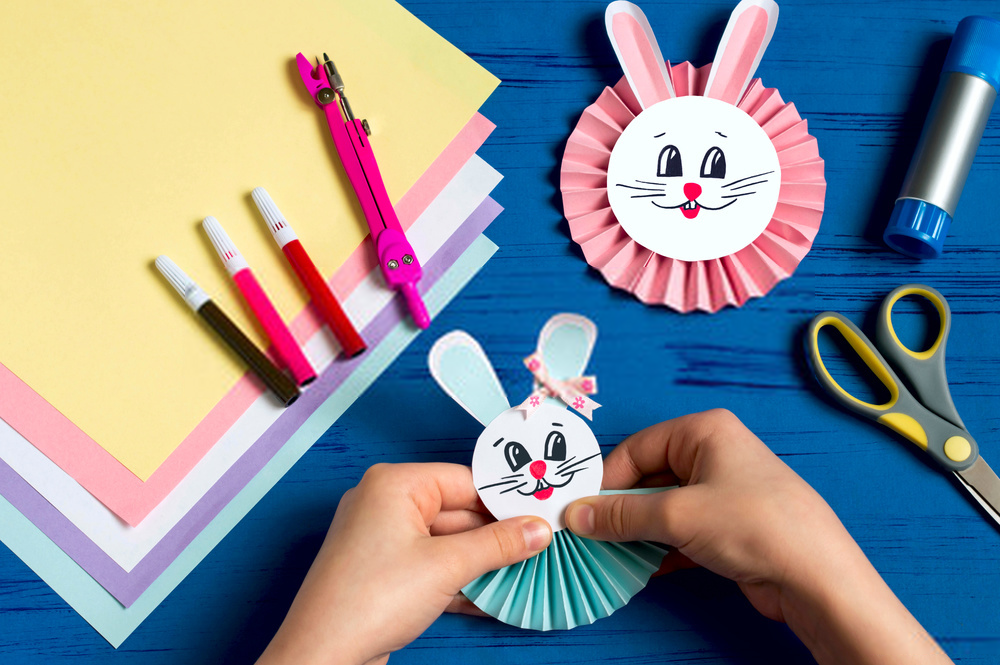
Step 1: Choose the Right Project
When starting out, the first thing to do is choose a project that excites you and matches your current skill level. Here are some beginner-friendly ideas:
- Making greeting cards with paper and markers
- Creating photo frames using popsicle sticks
- DIY wall art using canvas and acrylic paints
- Handmade candles or soaps
- Decorated mason jars for storage or gifts
- Simple jewelry like beaded bracelets or earrings
Tip: Start small. A 30-minute project can be more motivating than a 3-hour one, especially when you’re just beginning.
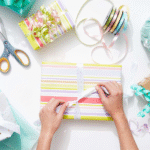
Step 2: Gather Your Materials
Once you’ve picked your project, make a list of the supplies you’ll need. Here’s a basic example for a paper-based craft like a greeting card:
- Colored paper or cardstock
- Glue or glue stick
- Scissors
- Markers, pens, or pencils
- Stickers or stamps (optional)
If you’re not sure what materials to get, YouTube tutorials or Pinterest posts often include material lists.
Pro Tip: Look around your house first—many items like newspapers, old magazines, or boxes can be reused for crafts.
Step 3: Set Up a Crafting Space
You don’t need a fancy art studio—a small corner of your dining table or desk will work. Here’s how to prepare:
- Choose a spot with good lighting
- Lay down newspaper or an old cloth to protect surfaces
- Keep a trash bag or box nearby for scraps
- Organize your tools and materials within reach
Having a tidy workspace makes crafting easier and more enjoyable.
Step 4: Follow a Tutorial or Use Your Imagination
If you’re not feeling confident, don’t worry. There are thousands of tutorials online. You can search on:
- YouTube (search “easy DIY craft for beginners”)
- Pinterest boards for step-by-step visuals
- Crafting blogs and websites
On the other hand, if you’re more of a free spirit, gather your materials and let your imagination lead the way. There’s no “wrong” in crafting—just expression.
Step 5: Take Your Time and Enjoy the Process
Don’t rush. The joy of DIY crafting is in the process itself. Play some relaxing music, sip your favorite drink, and treat this time as a self-care ritual.
If something doesn’t turn out perfect, don’t be discouraged. You’re learning, and the beauty of handmade crafts is in their uniqueness.
Step 6: Clean Up and Store Your Supplies
Once you’re done, make it a habit to clean up right away. This includes:
- Throwing away scraps
- Wiping surfaces
- Putting tools back in their place
- Storing leftover materials in boxes or containers
Having everything organized means you’ll be more likely to craft again in the future.
Step 7: Show Off Your Work
Be proud of what you made. Here are a few fun things to do with your finished craft:
- Display it in your room or home
- Gift it to a loved one
- Share a photo on social media or with friends
- Use it as decoration for holidays or events
Your project can inspire others to get creative too.
Optional: Build a Craft Kit Over Time
If you enjoy crafting, start building your own DIY craft kit. Here are some useful basics to keep:
| Item | Purpose |
|---|---|
| Scissors | Cutting paper, fabric, etc. |
| Glue (stick and liquid) | Sticking materials together |
| Colored paper/cardstock | Backgrounds and shapes |
| Markers and pens | Designing and writing |
| Tape (double-sided too) | Easy and clean attachment |
| Ruler and pencil | Measuring and sketching |
| Beads, buttons, strings | Decorative elements |
You don’t need everything at once. Build your supplies slowly as you explore new types of crafts.
Final Thoughts
Starting a DIY arts and crafts project at home is more than just a hobby—it’s a way to reconnect with yourself, explore your creativity, and make something truly personal. Whether you’re doing it alone, with friends, or with kids, the key is to have fun and let go of perfection.
So grab some paper, paints, or anything lying around, and get started today. You might just discover a passion you never knew you had.